Agent Workspace
Introduced via support-team-meta#5243
What is agent workspace?
As per Zendesk:
The Zendesk Agent Workspace enables agents to work seamlessly across Zendesk channels, all within a single ticket interface. Agents can use the appropriate channels to address issues, without being restricted to the channel in which the customer originally made contact.
For those using the legacy ticket pages, this comes with a number of changes.
The comments sorting is now reversed
With agent workspace, the way the comments are displayed now mirror what our customers see. This means the oldest comment is at the top of the ticket and the newest comment is at the bottom of the ticket.
When loading a ticket, you should also be put at the newest comment on the ticket (i.e. at the bottom of the ticket’s comment section).
The agent reply box is at the bottom of the ticket
With agent workspace, the reply box you type your reply into is now at the bottom of the ticket page.
The agent reply box now uses a WYSIWYG
With agent workspace, the reply box you type your reply into now has a WYSIWYG at the very bottom of the box. Using this you can format your reply, attach files, insert emoji, and create links.
Markdown links no longer work
When typing a reply, markdown links no longer will render properly. You will
need to use the embedded Add link feature to do so (by either clicking the
image or using Ctrl+K/Cmd+K).
Note This is only the case for messages you type. Markdown links in any macros you use will render correctly.
Markdown tables do not work
When typing a reply, markdown tables do not render properly. There is not a WYSIWYG ability for these, so tables would not longer be usable.
Inline images now work
You can now use inline images in your replies. Simply copy the image and paste it into the text box.
Note The customer needs to be logged in to see these, so consider how your reply would look via email when they receive the notification.
Redaction no longer require a Zendesk app
Previously, we used the Ticket Redaction app to handle performing redactions on tickets when needed. This is no longer required though, as it is a native feature within agent workspace.
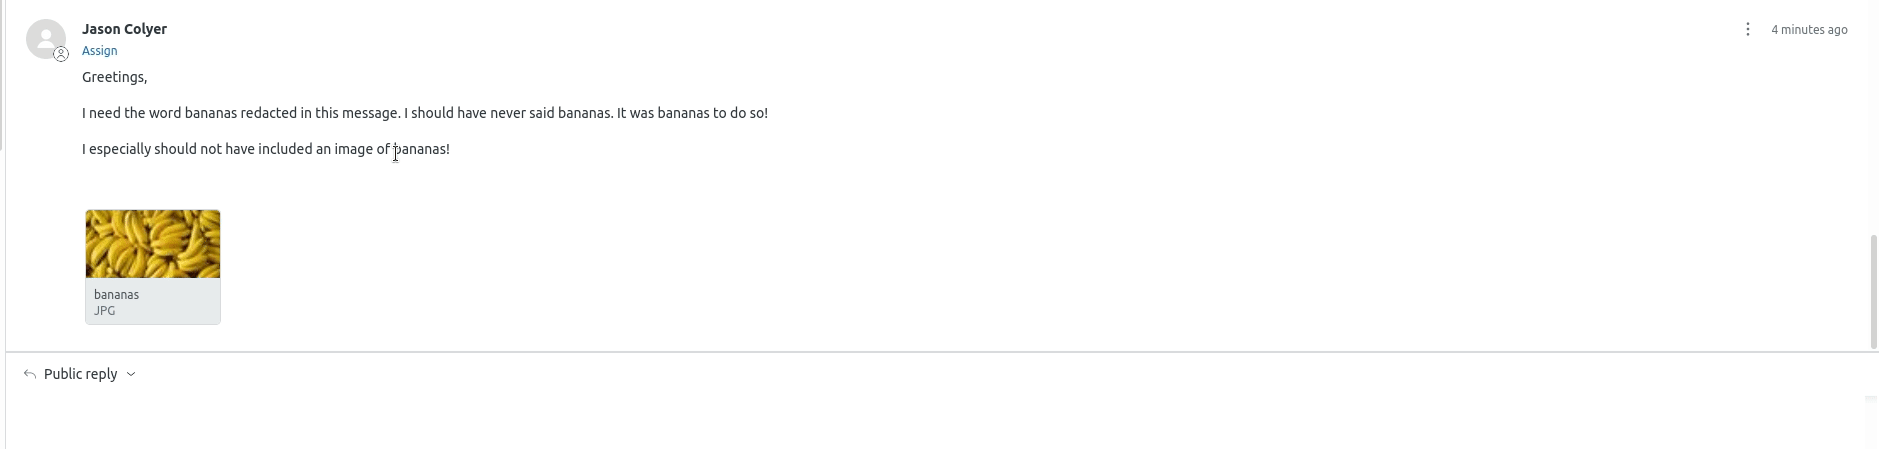
To perform a redaction on text, locate the comment that contains the text that
needs to be redacted, click the 3 vertical dots at the top-right of the comment,
and select Redact. Doing so will put a text box around the entire comment.
Highlight the text to redact and hit the enter key. This will put a red box
around the text. After you have highlighted all the text to redact, click the
red Redact button at the bottom-right of the comment.
To perform a redaction on attachments, locate the comment that contains the
attachments that needs to be redacted, click the 3 vertical dots at the
top-right of the comment, and select Redact. Doing so will put a text box
around the entire comment. Click on the attachment to redact and hit the enter
key. This will put a red box around the text. After selecting all the
attachments to redact, click the red Redact button at the bottom-right of the
comment.
Macro usage
While macros can still be used in the same traditional way (using the
Apply macro feature at the bottom-right of a ticket), you can also activate
them via slash commands now. It will use what is being typed to filter through
the macros on the Zendesk instance (you can use the arrow keys to navigate
through this menu). To apply the macro in this way, you can either click the
macro that appears or hit the enter key when highlighted on the macro in
question.
Note If your typing starts with a slash, it will try to locate the macro based off what you are typing. It will disregard it when you type another slash or type 2 spaces in a row.
Note If you dislike this functionality, you can disable it at any time for
your profile. Click your profile icon on the top-right of Zendesk, click
Keyboard shortcuts, and then uncheck the box next to “Enable keyboard shortcut
for macros in composer”.
Agents can ping other agents
Agent workspace allows full agents to ping someone in their replies. This is
done by using the at sign (@) and typing out the name of the person. You then
select the person from the submenu that appears. This works on both public and
internal replies.
Note Consider the end-user experience if using this on a public reply. The end-user will just see a name, so they may follow-up with a question such as “how do I talk to that person”.
Doing so will CC the agent on the ticket (for Zendesk Global) or add them as a follower on the ticket (Zendesk US Federal).
Note This functionality does not work for light agents
All the panels are now resize-able
With agent workspace, the 3 panels you see (ticket metadata panel on the far left, ticket panel in the middle, reply box at the bottom, and the various sidebars on the far right) are now completely resizable. You can click the edge of the panel and resize it as it works best for you.
There is a native translate feature now
We use Unbabel for our translations, but Google translate is now available natively on agent workspace. We would encourage this not be used for sending replies and Unbabel still be what we use to provide non-English support.
Note This only works on the agent side and does not display the English message as you had typed it.
Switching between public and internal comments has changed
With agent workspace, you change your reply from public to internal comment (and back again) differently. Now you click the drop-down at the top-left of the reply box to select which type of comment you want to make.
When the background is white, it is a public reply. When it is yellow, it is an internal comment.
Agent workspace will save the message on either mode as a draft, so you can switch to the other one, submit the message that way, and then switch back to resume working on the other mode.
Note Switching between the two does not copy the message into the new mode. You will need to copy your reply first and paste it into the new mode.
Note Typing in both modes and submitting the ticket does not submit both messages. It only submits the message you currently have displayed.
There is no longer a preview option for your reply
Agent workspace removed the preview functionality from the reply box. This was with the assumption that you can preview your message as you type it, since the reply box renders the reply as it will be posted.
There is now a draft mode for replies
In the bottom-left of the reply box, there is an option to toggle draft mode for your reply. This allows you to write your message without the worry of accidentally sending it out before it is completed. When in draft mode, if you try to send out the reply, a warning message will indicate you are in draft mode and ask you to confirm the sending of the reply.
For more information on draft mode, please see Zendesk’s documentation.
Note You can also use the keyboard shortcut Ctrl+Alt+T or Cmd+Option+T to toggle draft mode on and off.
The far right sidebar has more options
Previously, the far right sidebar only ever had the option of showing Zendesk apps. With agent workspace, you can now see user information, search the knowledge base (not currently used), or bring up Zendesk apps.
aa6423ef)
