Adding CTAs to Learn@GitLab YouTube Videos
Why?
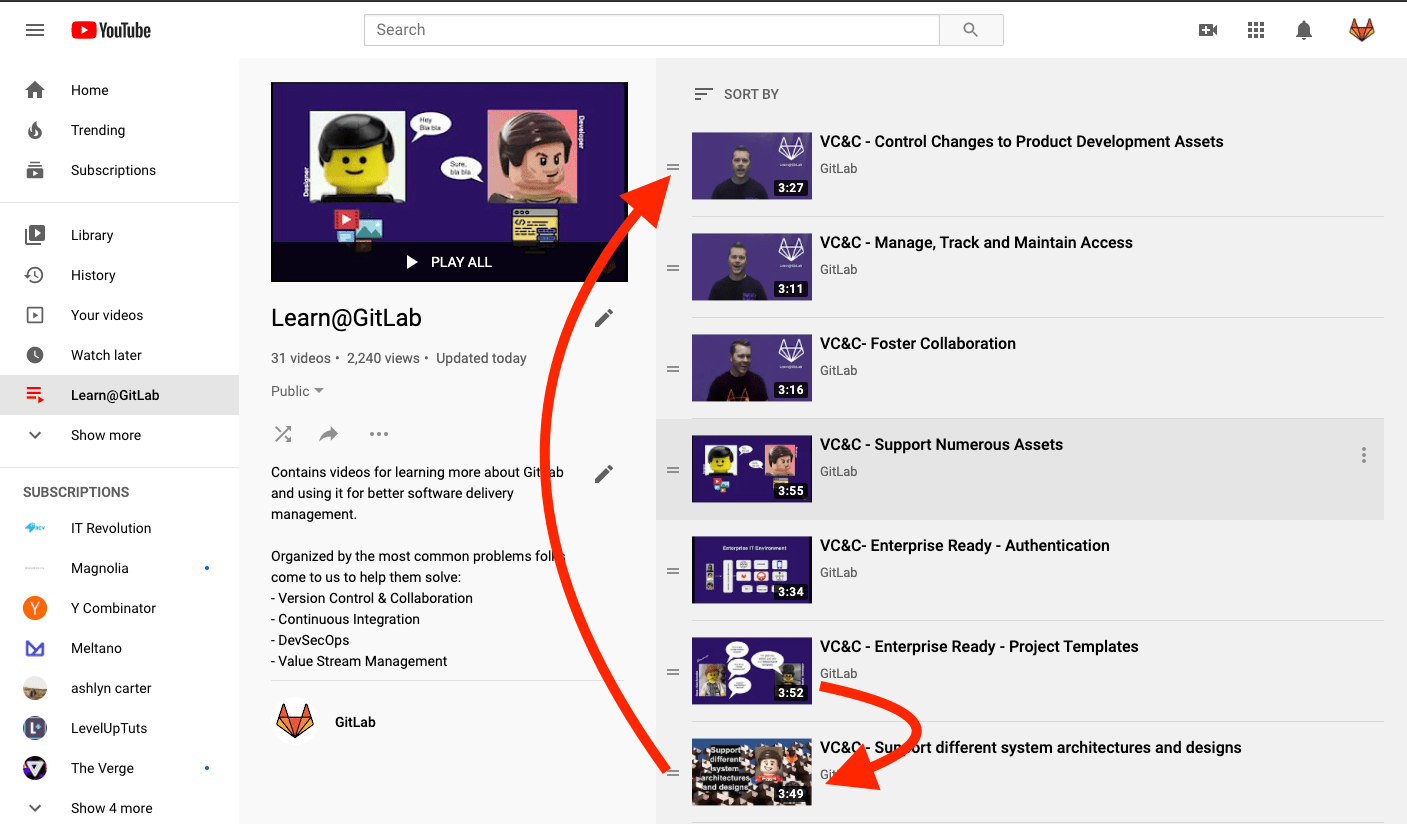
The YoutTube GitLab channel has the Learn@GitLab playlist on it. This playlist is comprised of the videos the Developer Advocate team creates about the customer use cases which are the basis of our Use Case GTM. To increase the value we get from these videos it is valuable to cross reference to other videos, the playlist, and to subscribe, by adding appropriate CTA’s at the end of our videos.
How to add CTAs (do all of these for each video)
1. Getting to the editor mode for a video
- Login to the GitLab YouTube account (you should already have permission to do that from your GitLab login). If you don’t and believe that you should then open an access request.
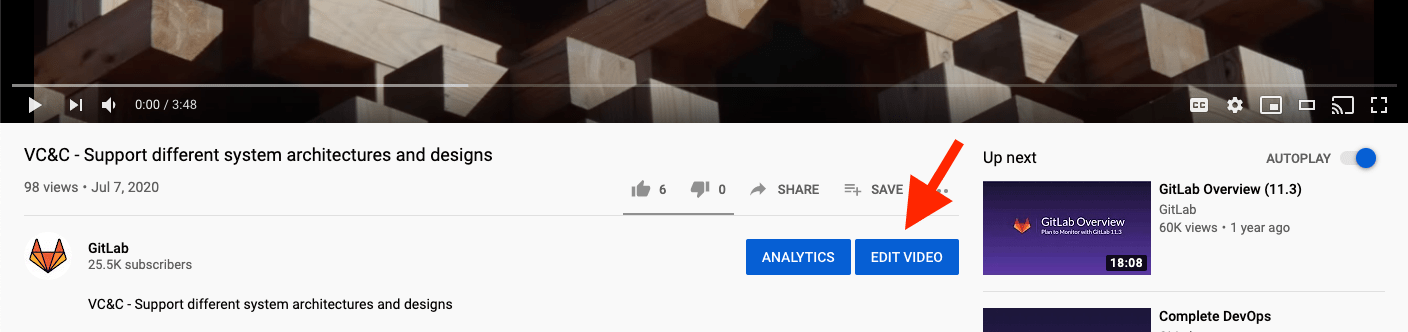
- Go to the video you want to set the CTA’s for

- Click on the
Edit videobutton below the video
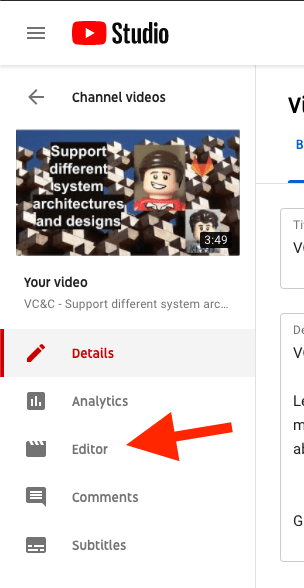
- Click on the
Editorbutton on the left panel
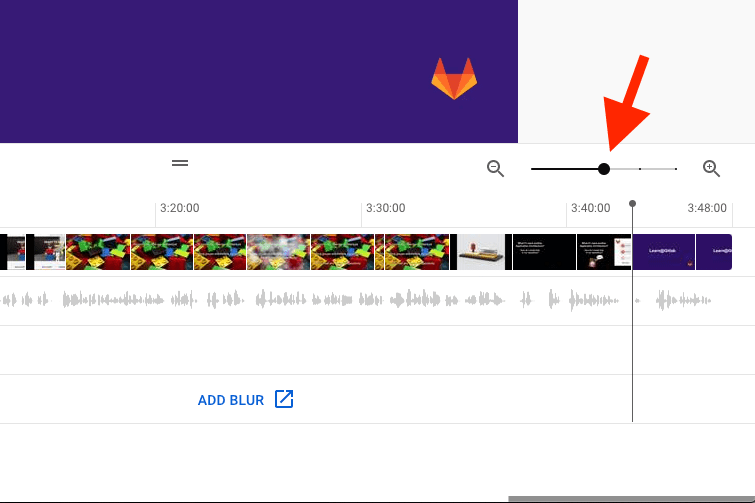
2. Find your insertion point
- Zoom the view using the zoom control on the right
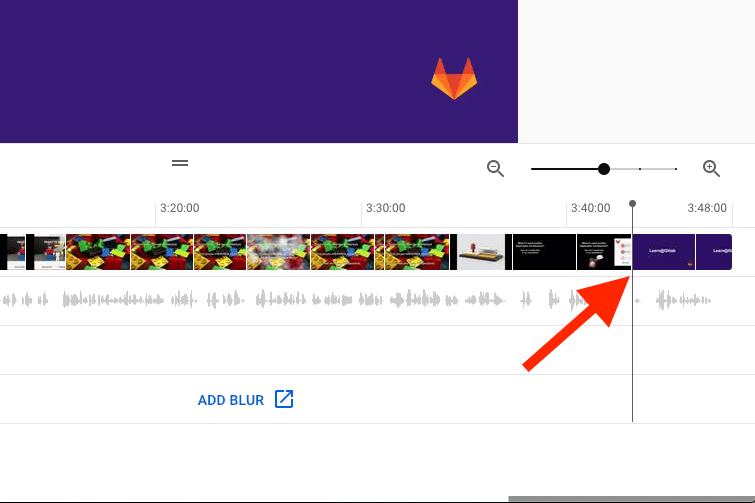
- On the video timeline move so you are at the location you want to start your CTAs showing up
3. Add a video CTA
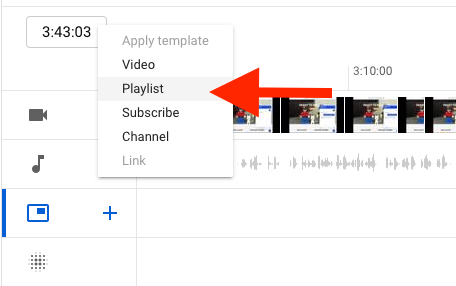
- On the left side of the timeline click on the
Add element“+” icon
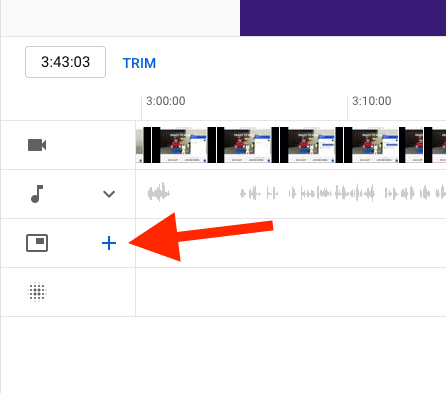
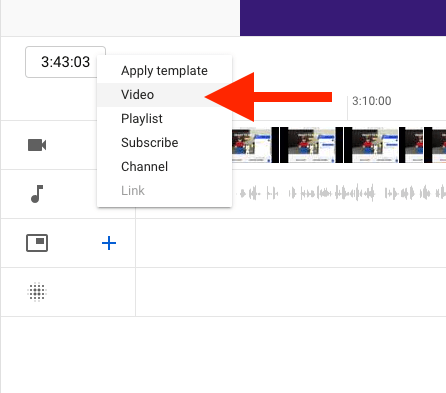
- On the menu that pops up select
Videoto add a new video
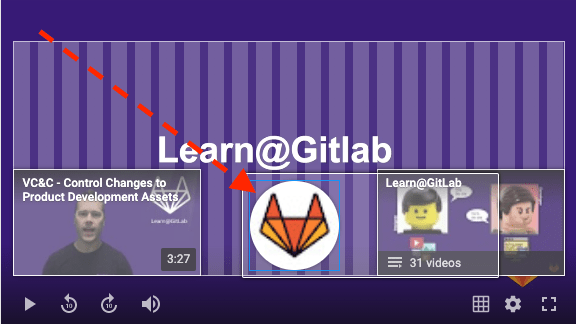
- This will add a video bar to the timeline and a video stand-in in the viewer
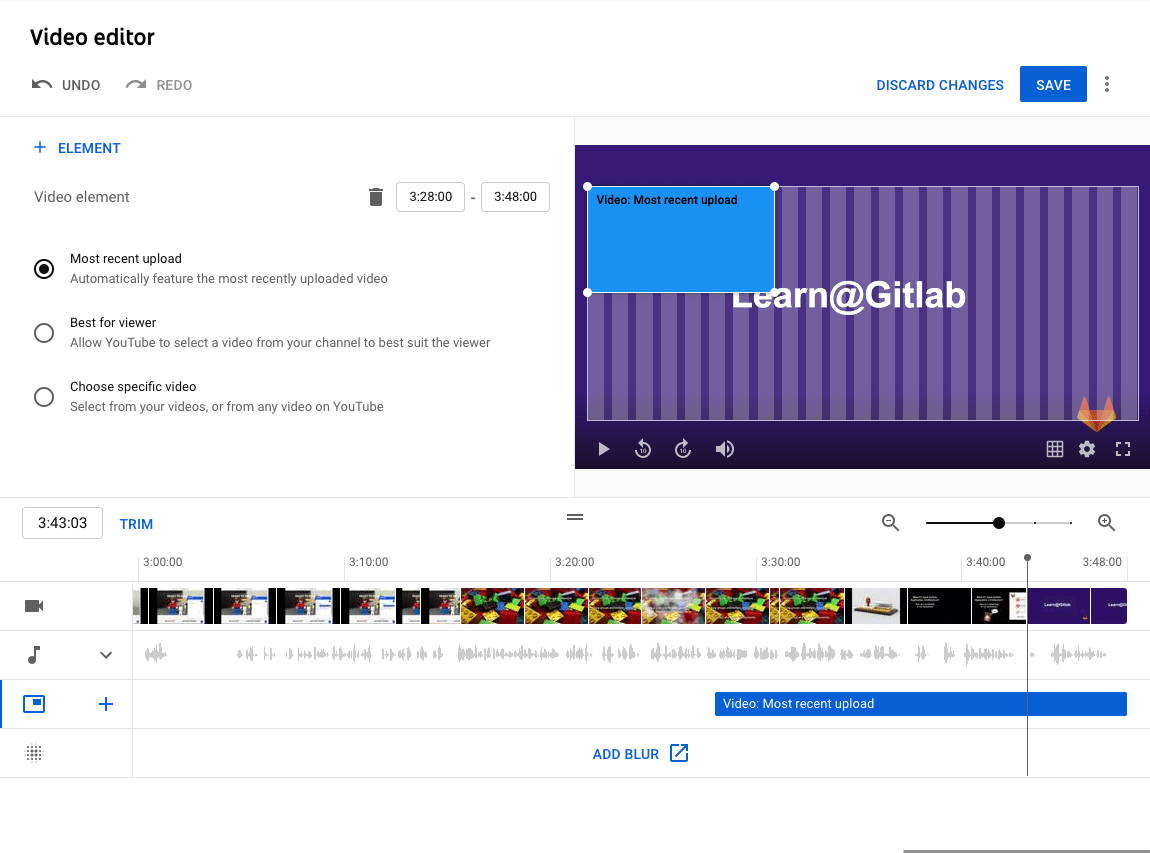
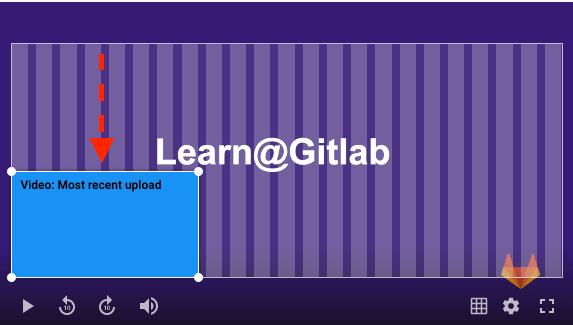
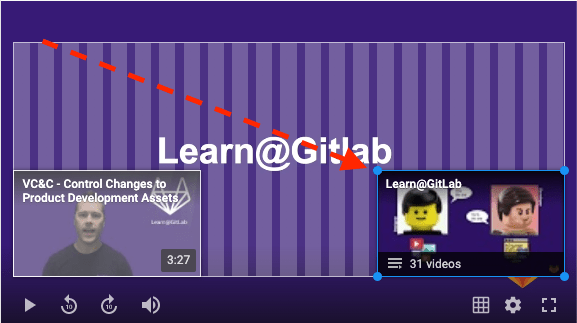
- Reposition the video so that it’s covering as little as possible (preferably on the lower left corner). Keep in mind that you will also be adding another box for the playlist (of the same size), and a smaller circle for the subscribe.
- Go to the playlist and figure out which video is next in the chain. You will make this CTA go to the next link in the chain. If this video is the last one in your chain then link it back to the first video in your chain. Be sure to also edit the CTA of the video before this one to link to this video.
- To the left of the video select the radio button
Choose specific video
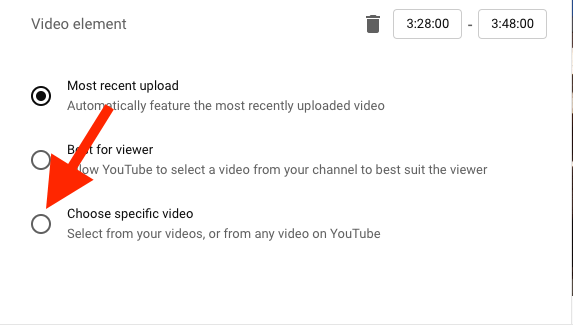
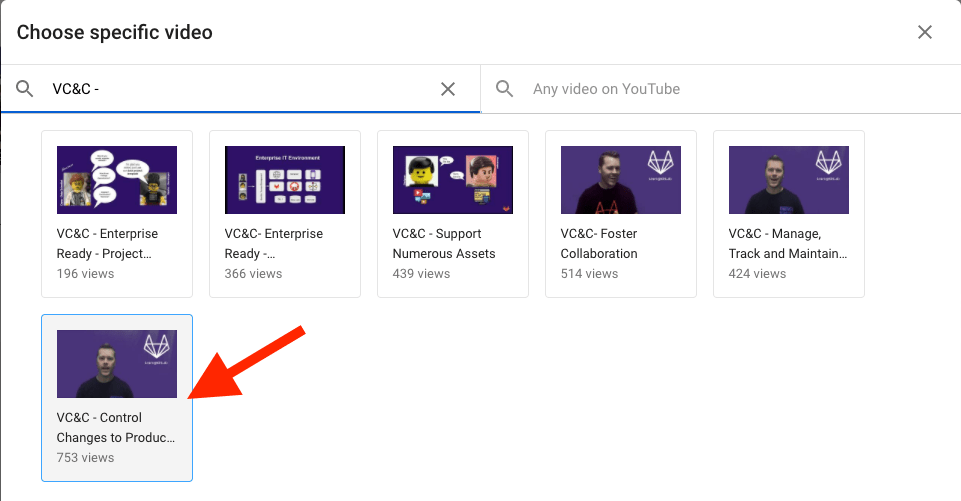
- Search for the video that you determined should be the next in the chain (that this CTA will link to), and then select it
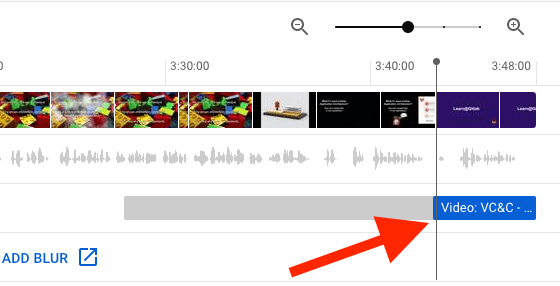
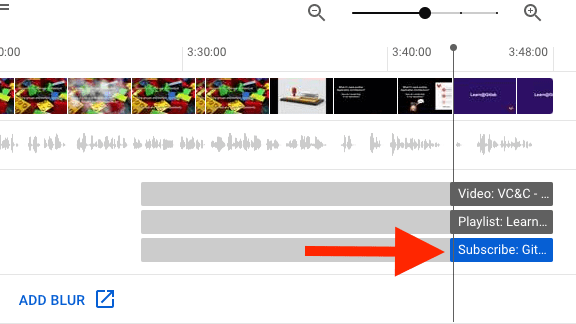
- Resize the CTA bar for the video so that it starts at your timeline mark. You might not be able to shrink it enough due to minimum length requirements. Make it as close as possible to your desired video frame.
4. Add a playlist CTA
- From the same place as adding the video CTA, go to the same
add element“+” icon as before, but this time from the pop-up menu selectPlaylist
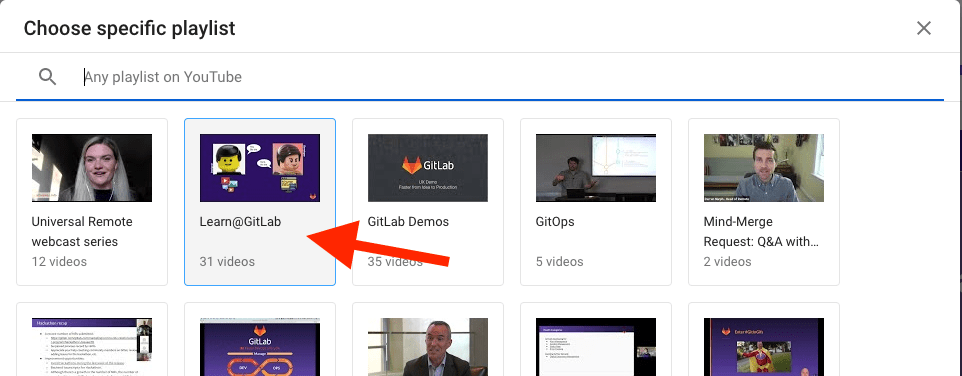
- Find the
Learn@GitLabplaylist that this CTA will link to and then select it
- Reposition the playlist box so that it’s covering as little as possible (preferably on the lower right corner).
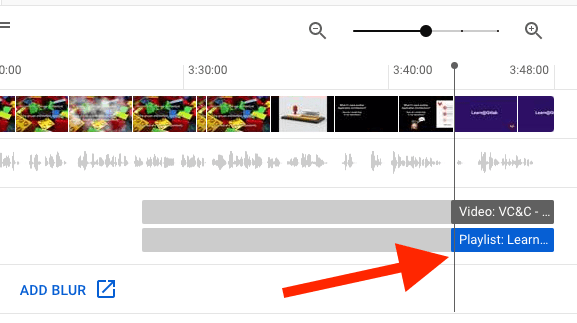
- Resize the CTA bar for the playlist so that it starts at your timeline mark. You might not be able to shrink it enough due to minimum length requirements. Make it as close as possible to your desired video frame.
5. Add a subscribe CTA
- From the same place as adding the video and the playlist CTA’s, go to the same
add element“+” icon as before, but this time from the pop-up menu selectSubscribe

- Reposition the subsribe button (circe) so that it’s covering as little as possible (preferably in between the video box and the playlist box).
- Resize the CTA bar for the subscribe button so that it starts at your timeline mark. You might not be able to shrink it enough due to minimum length requirements. Make it as close as possible to your desired video frame.
Finish up
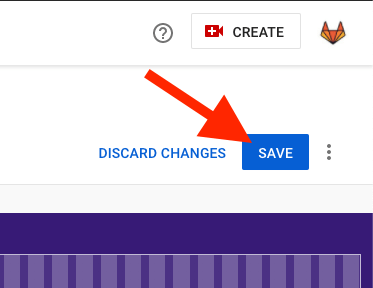
- Click on the
Savebutton in the upper right corner of the Video Editor
- Once it’s saved, go back to your video (outside of editor mode) and make sure everything works as expected.
Last modified June 27, 2024: Fix various vale errors (
46417d02)
