Okta Verify Device Trust macOS Setup Guide
Vendor Docs - macOS Setup Vendor Docs - FAQ and Troubleshooting
Overview
Note: Occasionally after a macOS version update, Okta Verify will need to be set up again. Following these steps will resolve the issue.
-
Open the Okta Verify application on macOS via Spotlight by selecting the magnifying glass in the menu bar (top right corner of display). Another method to open Spotlight is to use
cmd + Space
-
Search for
Okta Verify
-
Select
Get Started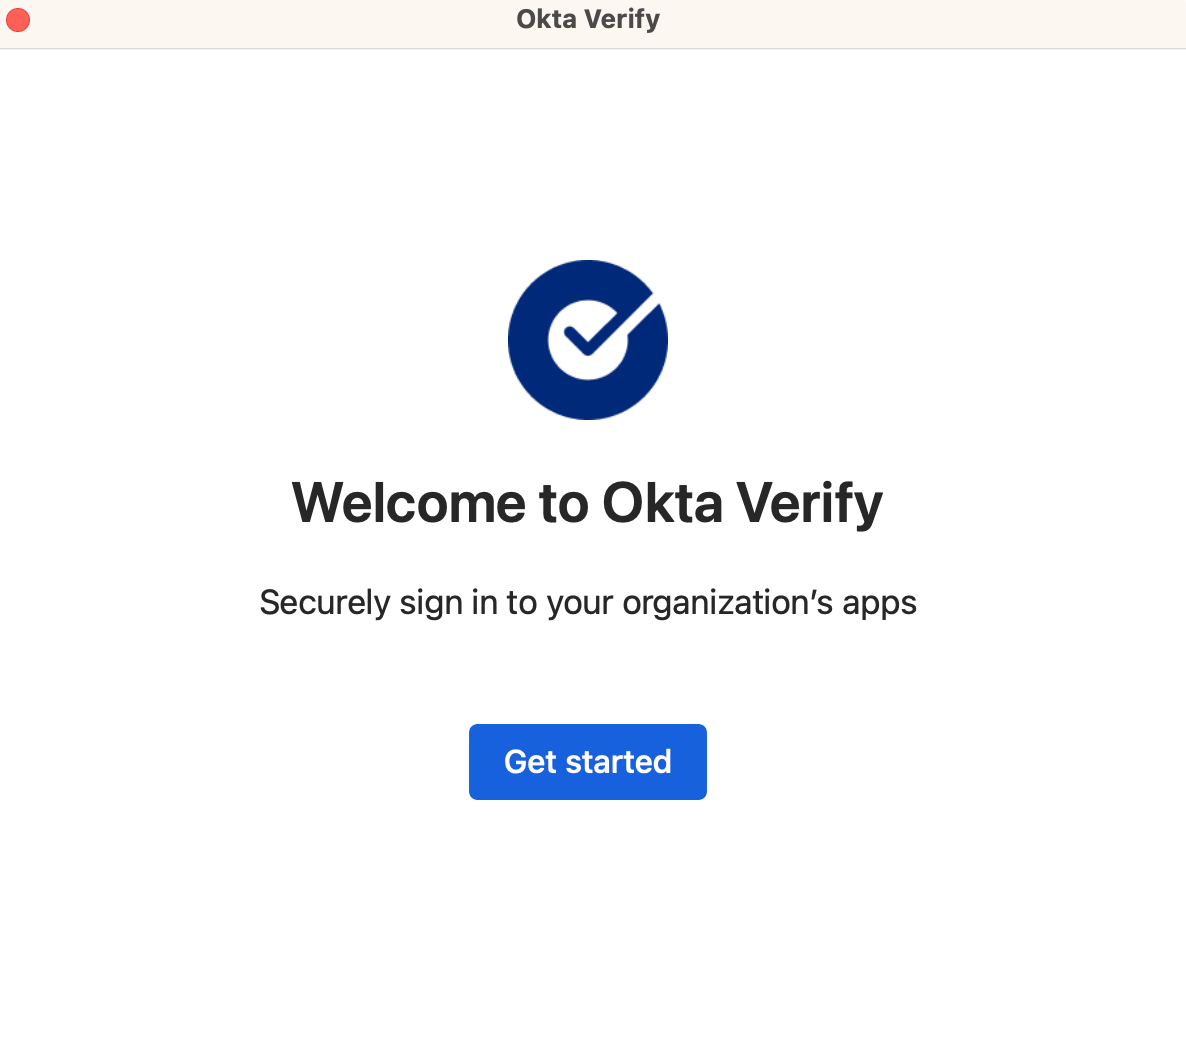
-
Select
Next
-
Confirm
gitlab.okta.comis populated for Sign-in URL and then selectNext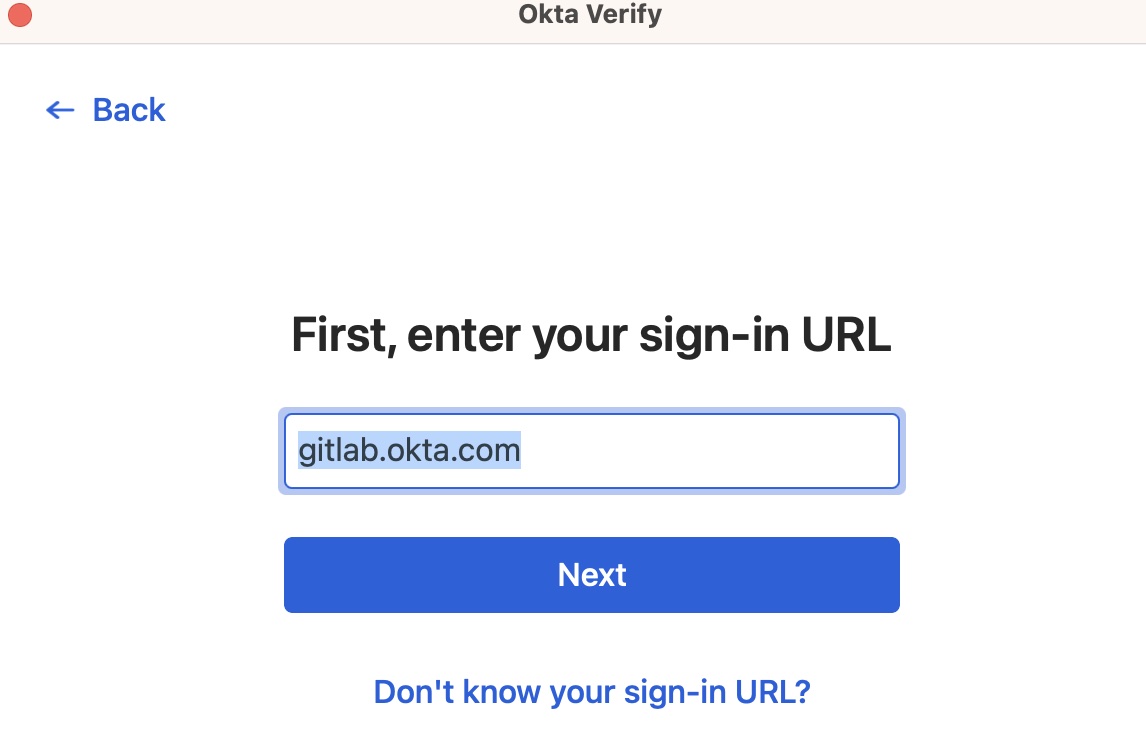
-
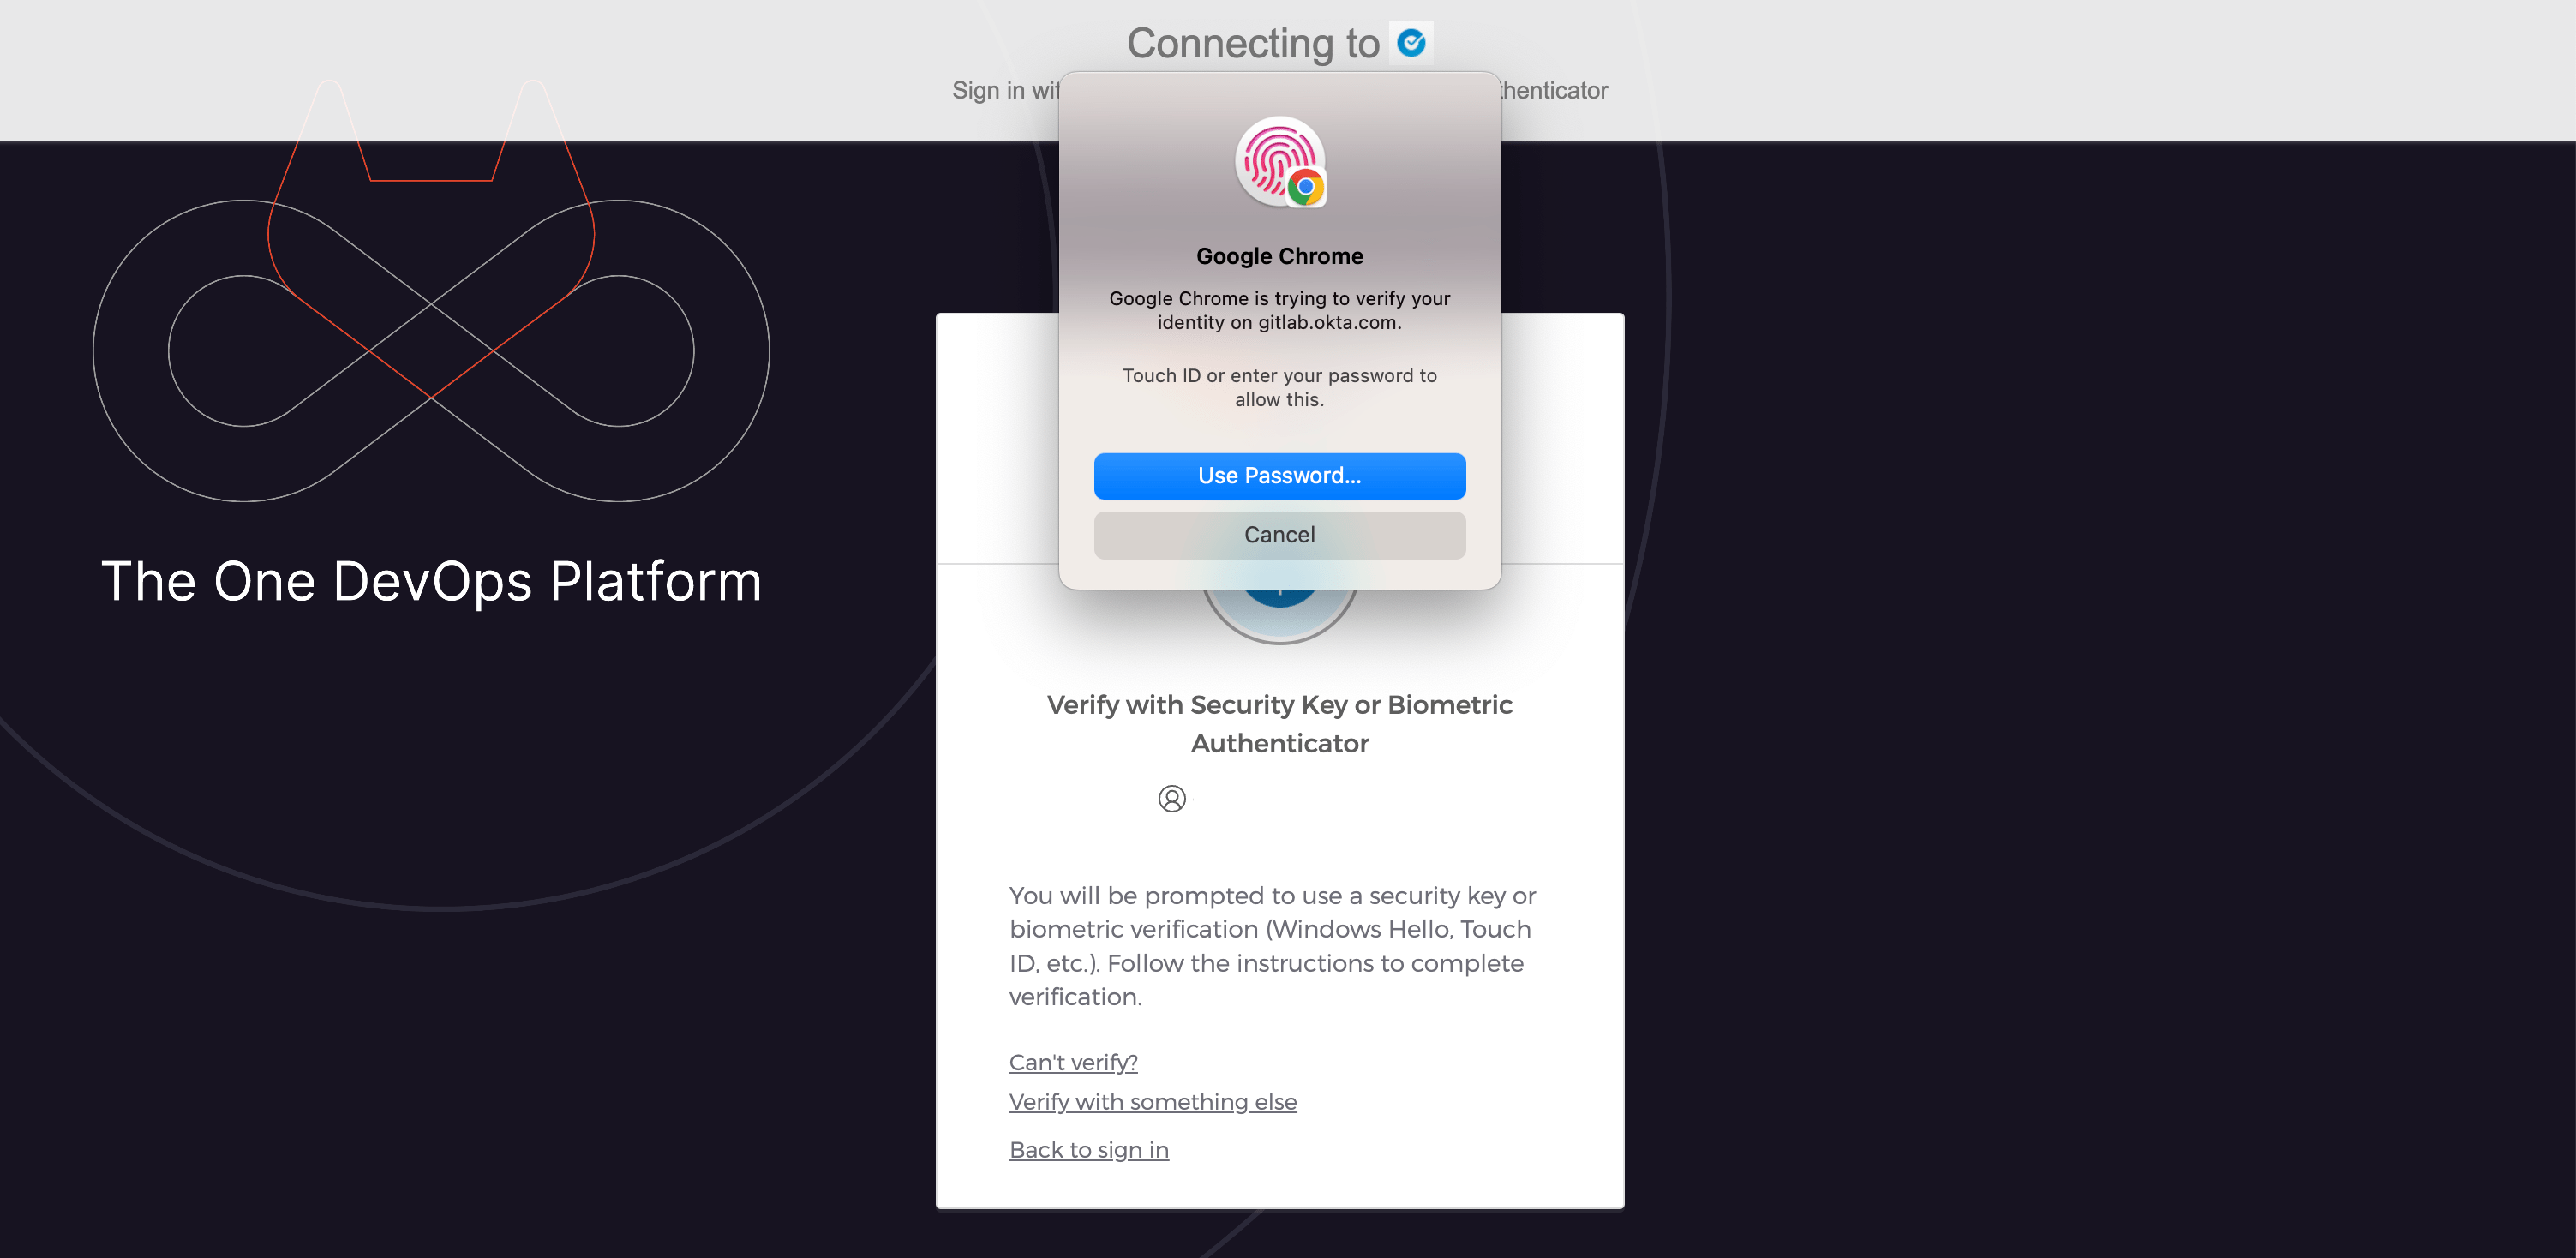
A browser window will open to gitlab.okta.com to confirm your identity
-
After doing so, you will see the
Your Identity is Verifiedmessage and you can close the browser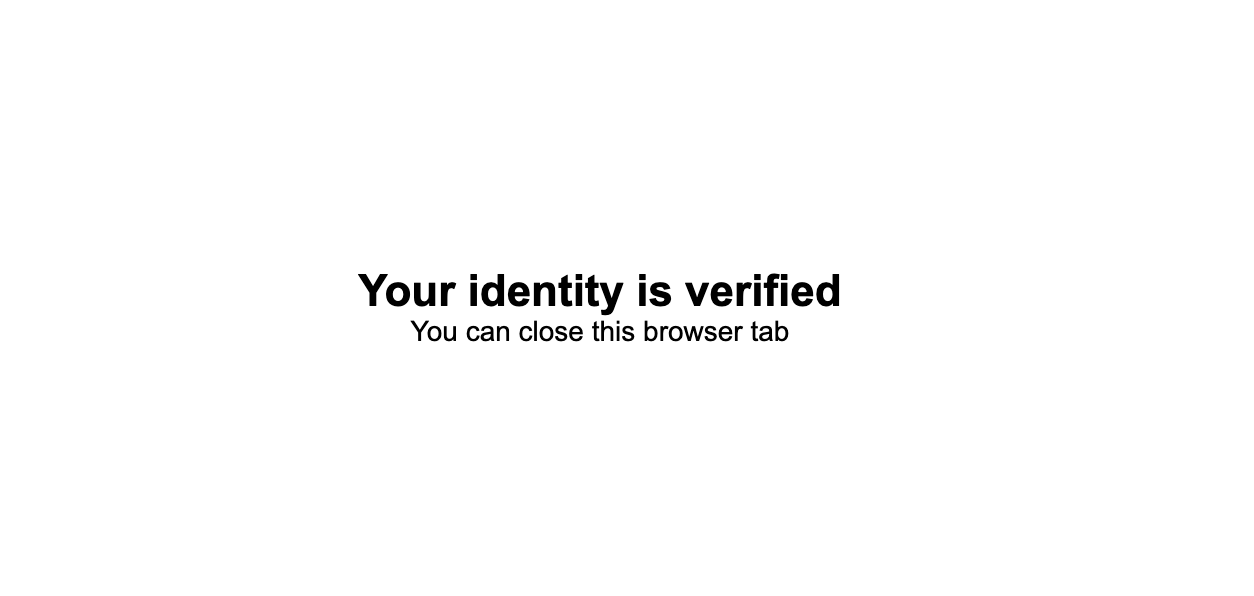
-
The Okta Verify application will refresh. Press
Nextif you are using Touch ID on your Mac (most common), orSkipif you are not. Okta Verify uses macOS’s Touch ID capability, and the mathematical calculation is stored locally within Apple’s Secure Enclave and not available to Okta or GitLab.
-
If you pressed
Next, then clickEnable Touch ID
-
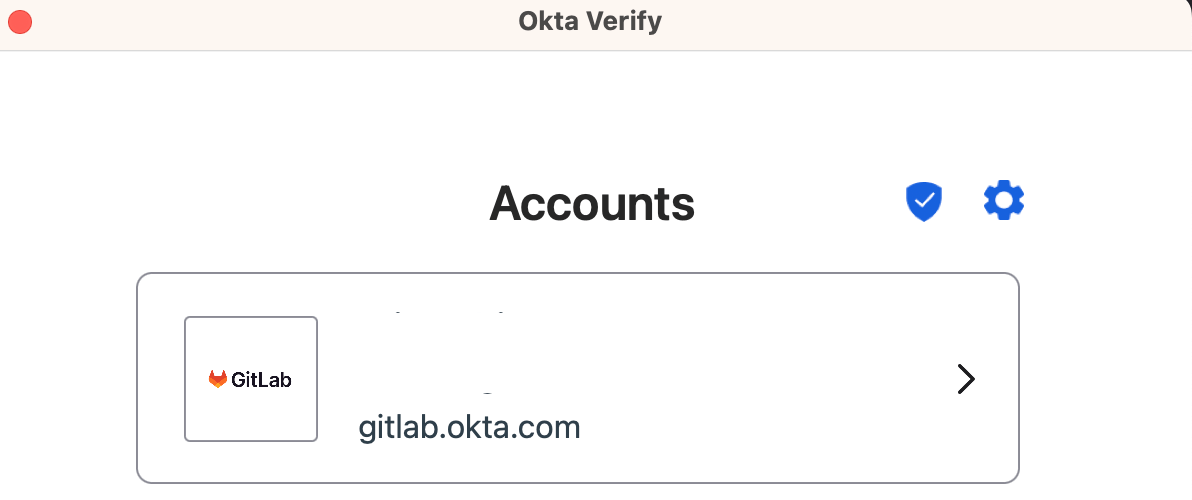
Your GitLab Okta account will now be available to use with Okta Verify on macOS
After enrolling
You will continue to be able to use a YubiKey in addition to Touch ID to login to Okta from macOS device. You will not be able to login from a personal macOS device.
A macOS device missing the certificate (even when enrolled with Okta Verify), will quickly show:
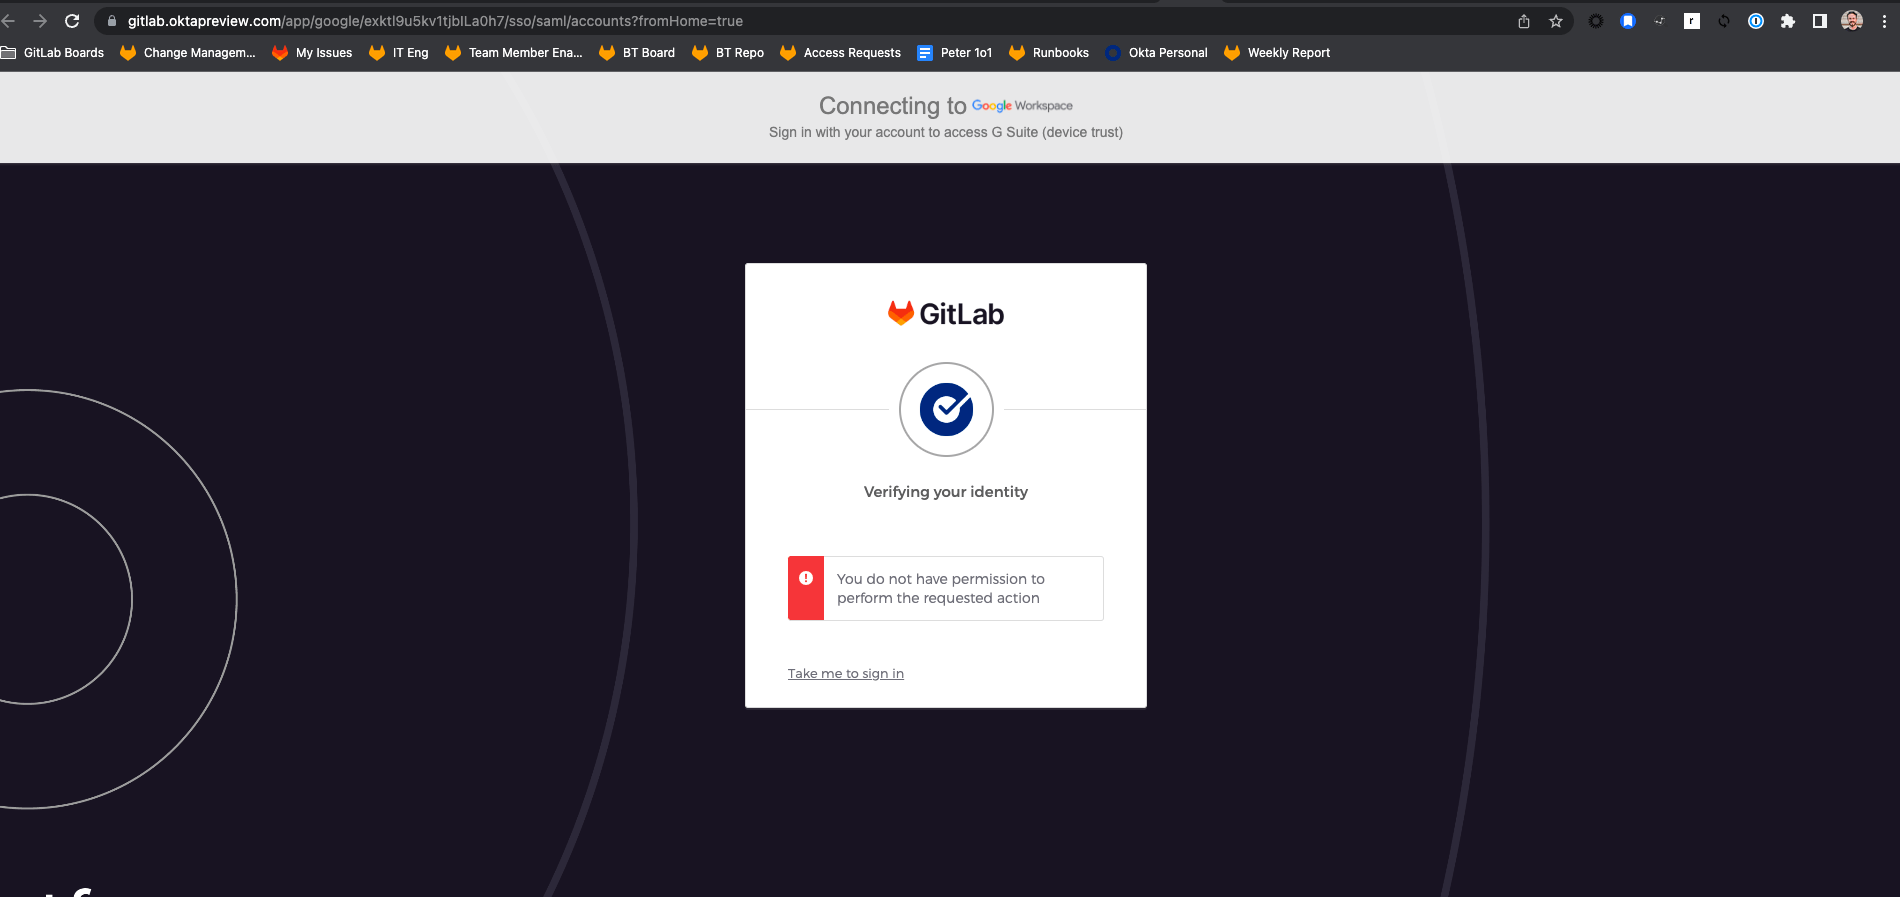
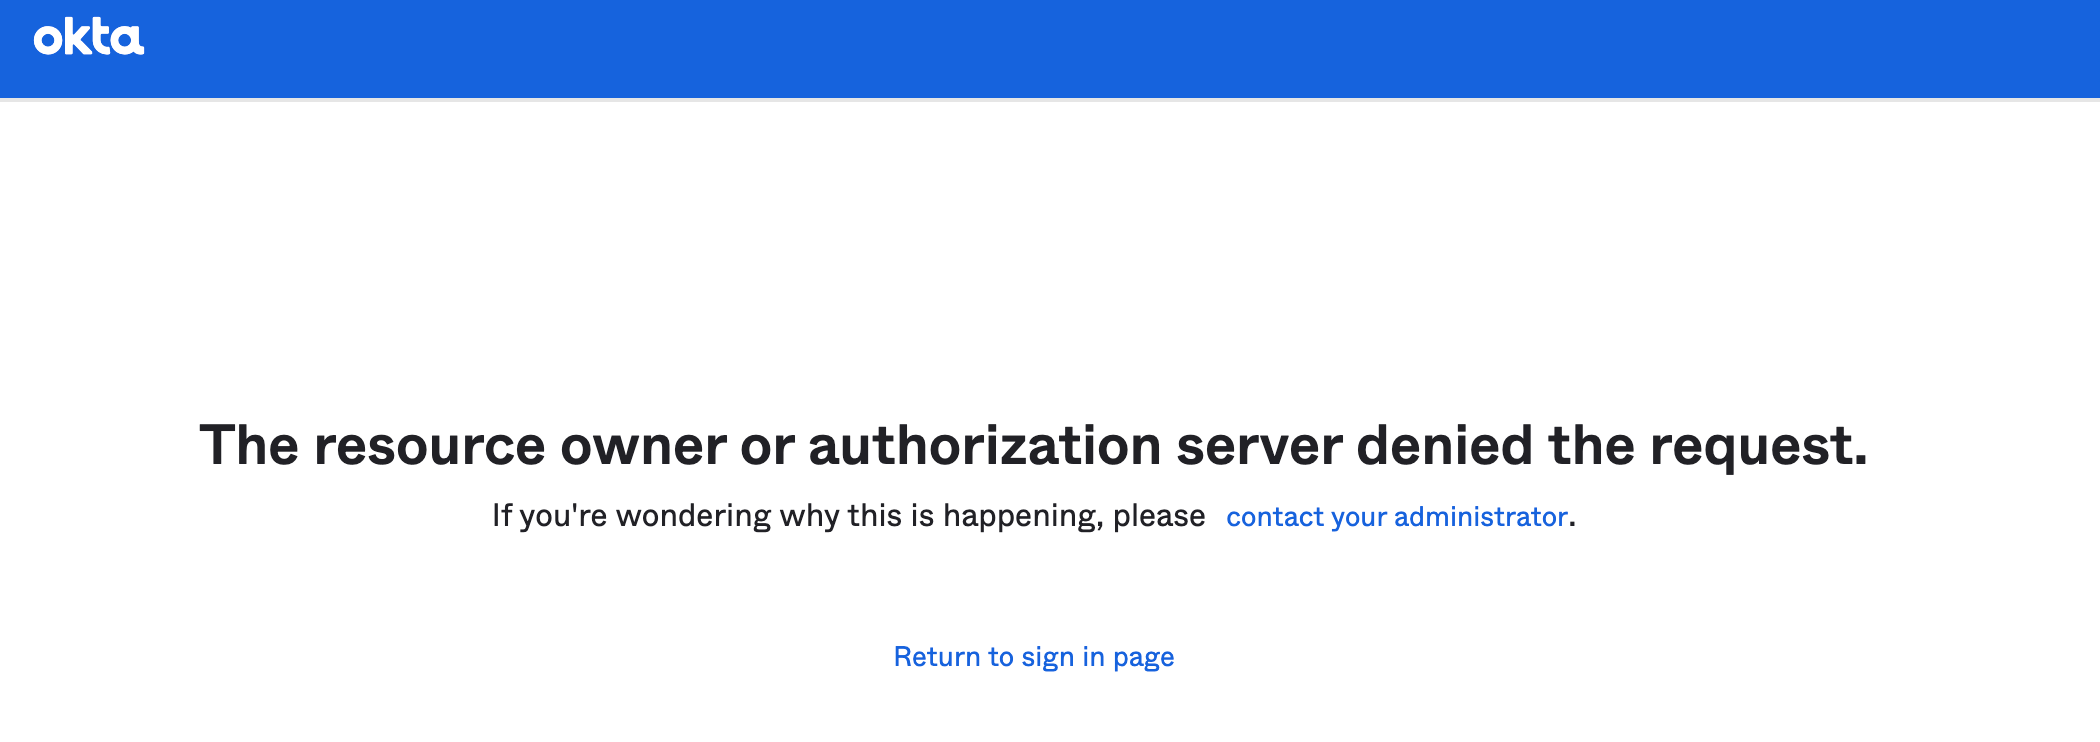
Then re-direct to the following error:
2feb413c)
