How to do UI Code Contributions
Contributing to GitLab’s main codebase
GitLab’s main codebase contains all the code for the GitLab project including its UI. Technical knowledge is required to contribute, but it’s not necessary to have a deep understanding of programming concepts to do meaningful contributions. There are multiple opportunities to improve GitLab by doing small UI text changes or small CSS refactorings.
Contributing to GitLab’s code requires HTML, CSS, Terminal (CLI), and Git Knowledge. Basic Ruby and JavaScript knowledge is also encouraged.
Anyone contributing to GitLab’s main codebase should have a working and running GDK, be familiar with a using a code editor (preferably Visual Studio Code) and know the basic Git commands.
As a general rule, if it can be fixed in a browser inspector, it can be probably be fixed it for real in the GitLab codebase.
Everyone is encouraged to find small UI issues and submit their changes via a merge request (MRs).
GitLab’s main codebase contribution basics
Step 1: Install the GDK
The GitLab Development Kit (GDK) provides a local GitLab instance that allows you to test changes locally, on your workstation.
Step 2: Understand GitLab’s codebase structure
Three kinds of files handle UI rendering. At its core, GitLab is a Ruby on Rails application. The Ruby on Rails application renders GitLab’s front end with .haml files. HAML (HTML Abstraction Markup Language) is a Ruby-based HTML template system. It’s easy to learn and it even closes HTML tags for you!
For Stylesheets, GitLab uses a CSS pre-processor called SASS. SASS (Syntactically Awesome Style Sheets) uses .scss files that handle all of the usual stuff CSS does, but with a bit more sophistication that helps us keep GitLab’s CSS better organized.
Finally, for interactivity and client-side application logic, GitLab uses a framework called Vue.js. It’s rare to have to change the .vue files unless you’re changing a Pajamas component, or creating a new one.
Step 3: Choose a code editor and start making small changes
You can pick any code editor you like, but Visual Studio Code is a safe bet and the industry standard.
Once you have your code editor installed, open the gitlab-development-kit/gitlab folder. It contains all of the GitLab files that change when new features and contributions are added.
A good first step is to find some text inside the product to update. Use the search feature in your code editor to locate where the text exists in the code base, change the text to something else, and save the file. When you reload your local instance of GitLab, you should see that change reflected in the UI.
Step by step guide to contributing UI code changes
For a detailed step by step guide of how to make UI code changes against the GitLab’s main codebase visit this page:
Step by Step Guide to Make Code Changes
Finding opportunities to do UI code contributions
Contributing to GitLab UI (Component System)
GitLab UI is the source for our Pajamas UI component library. It builds and deploys Vue.js components that are used in some of our GitLab projects, including gitlab.com. While it’s not required of GitLab designers to code or actively contribute to GitLab UI, it is important to have a basic understanding of what it does and how it deploys components that we design.
GitLab UI basics
- GitLab UI builds and deploys components. We then import those components to use throughout gitlab.com.
- If you’ve ever created a site or app that utilizes npm, you install GitLab UI as a package just like you would with other npm packages using
npm install @gitlab/ui. Since our components are built in Vue, your project also needs to be Vue-based in order to use GitLab UI components. - We use Storybook for development and component documentation, which is then displayed on component pages in Pajamas.
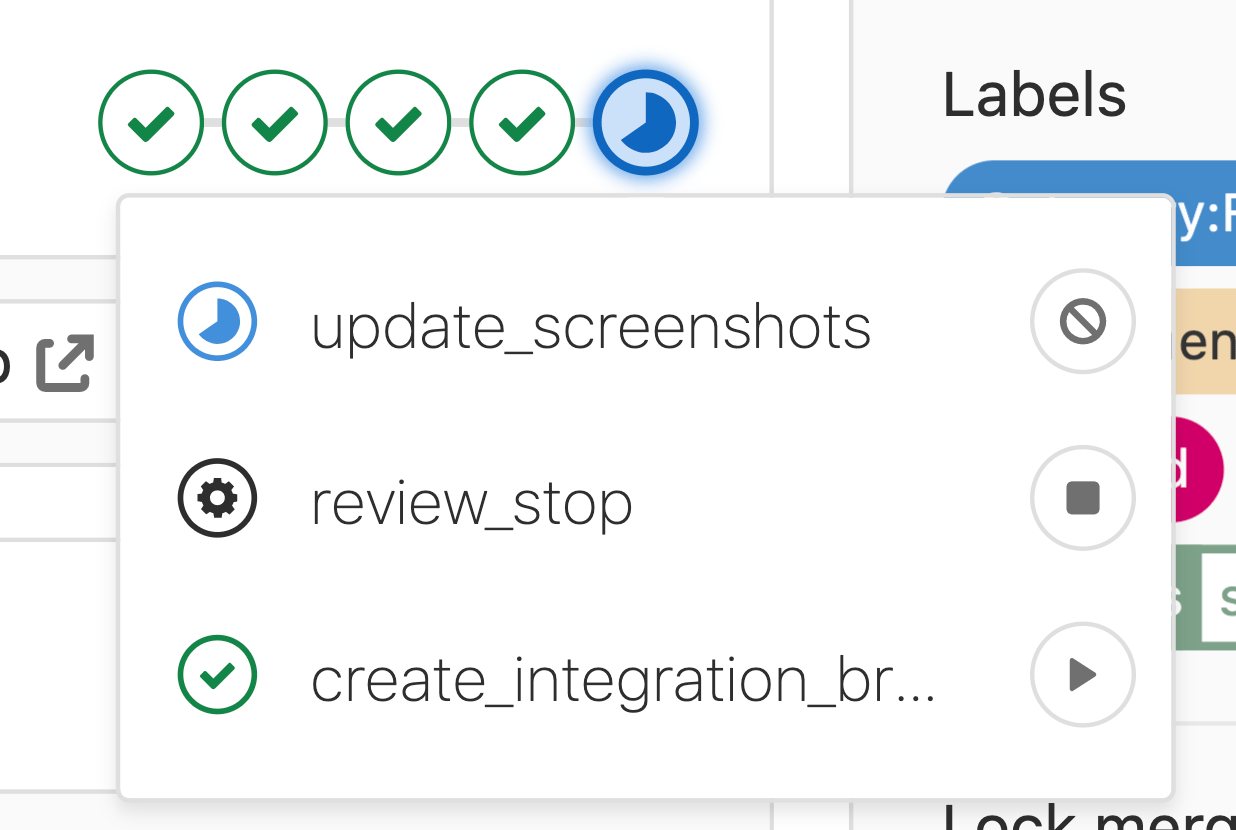
- We use visual regression testing to prevent introducing unexpected regressions with CSS and layout changes on components. After committing changes to a GitLab UI merge request, run the manual job
update_screenshotsto check for visual regressions and update them automatically:

Updating an existing GitLab UI component
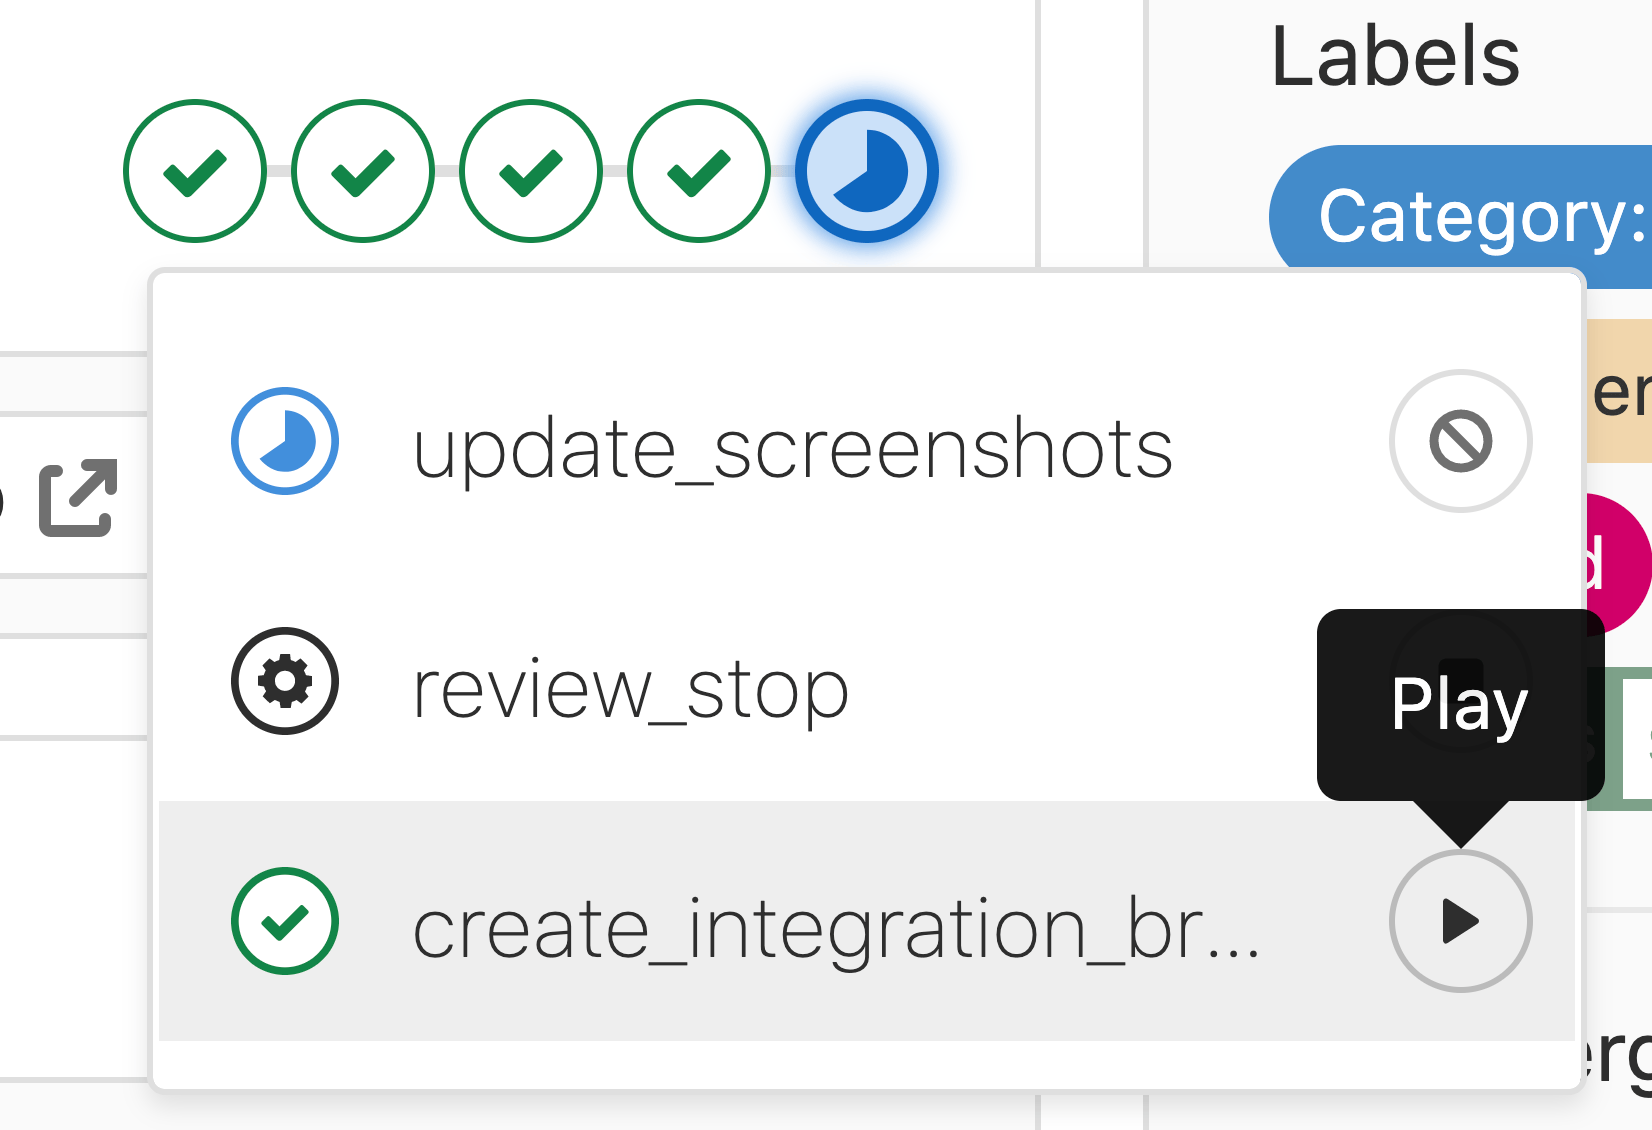
If you’re updating an existing component, issues may arise if you’ve changed or removed properties currently in use on gitlab.com. In this case, you’ll need to create an integration test merge request on the gitlab repo to update existing components that may become broken with your GitLab UI changes. Luckily, this is as simple as running the manual job create_integration_branch:

- After running this manual job, click on it and you will see a link to create a merge request from the created integration branch. Open this link to create your merge request:

Once the merge request is open, it will use your GitLab UI branch as the source for GitLab UI, allowing you to update existing components whose properties you may have changed or removed:

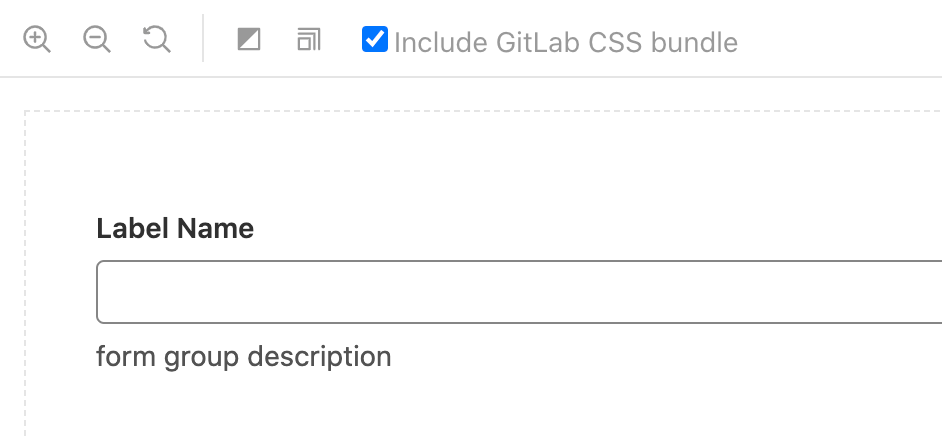
If you’re viewing Storybook locally to see your GitLab UI changes, you can select the checkbox Include GitLab CSS bundle to pull in the main GitLab CSS file to see if any of your component styles will be overridden. If there are style differences when selecting this checkbox, you may get pipeline failures as a result:

Note: Don’t be afraid to ask a GitLab UI maintainer for help with setting up your integration test.
Updating GitLab UI
Terminal (CLI) cheatsheet
- Command Line basic commands in our GitLab docs.
- Basic Git commands in our GitLab docs.
Video walkthroughs
Contributing to GitLab (Designer Edition!) by Annabel Dunstone Gray
Contributing to GitLab (Designer Edition!) by Annabel Dunstone Gray
How to Make UI text changes in GitLab (Designer Edition) by @jj-ramirez
How to Make UI text changes in GitLab (Designer Edition) by @jj-ramirez
Updating a deprecated button by @aregnery
Updating a deprecated button by @aregnery
This page is adapted from a beautifully designed PDF created by @jj-ramirez 😃
9993abed)
